Staging a House for a “Flipper”
We may be stunned at the fantastic transformation of a remodel we see featured on HGTV, and are confident that this will be a successful flipping venture in progress. The home stager creates the final WOW factor that contributes to a quick sale after the renovations are complete.
Recently I was asked to provide the Staging for a TV show called Partners in Design (KMIR/ NBC). I jumped at the chance, and developed a detailed list of questions pertaining to the home staging.
What specifically will be my role as home stager? Where is the property? What style is the home? What kind of furniture and accessories are needed? Are there outdoor areas that require staging? What is the time frame? What is the budget?
This is the process I use when I stage a vacant home:
1. Identify my role: Sometimes I come into a completed home ready to stage and my role is straight-forward: Stage the Home. Often times the developer asks for assistance earlier with color and finish selections. In the case of the TV home, I worked with the designer to understand her style and direction.
2. Tour the Property: For me to stage, I need to see the space in person, even if it’s under construction. Photos can be deceiving. For Partners in Design, I toured the property in Mission Hills Country Club with the producer and met the Interior Designer, Owner and some of the contracting team.
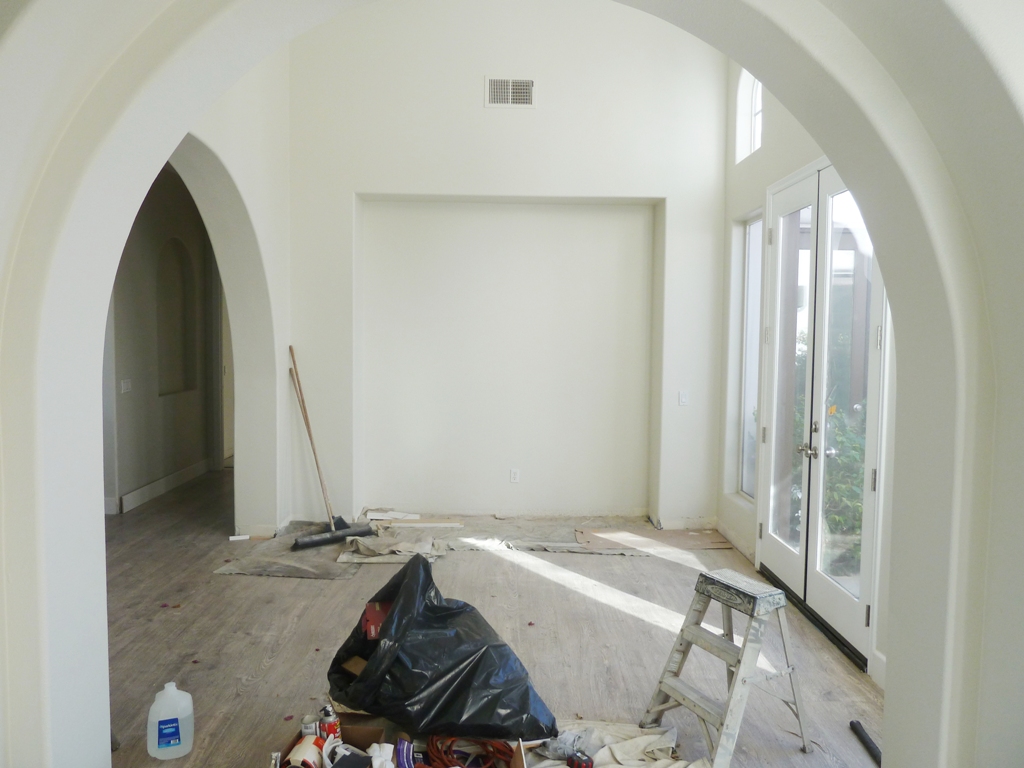
3. Identify the potential home buyer and the style of the home: Will the home buyer be a family, singles, empty nesters, or retirees? Who typically purchases homes in the neighborhood? Is the home contemporary, Mediterranean, transitional? In the case of the Mission Hills property, the home was transitioning from Mediterranean curved arches to a clean modern look. It would attract buyers interested in the Country Club lifestyle.
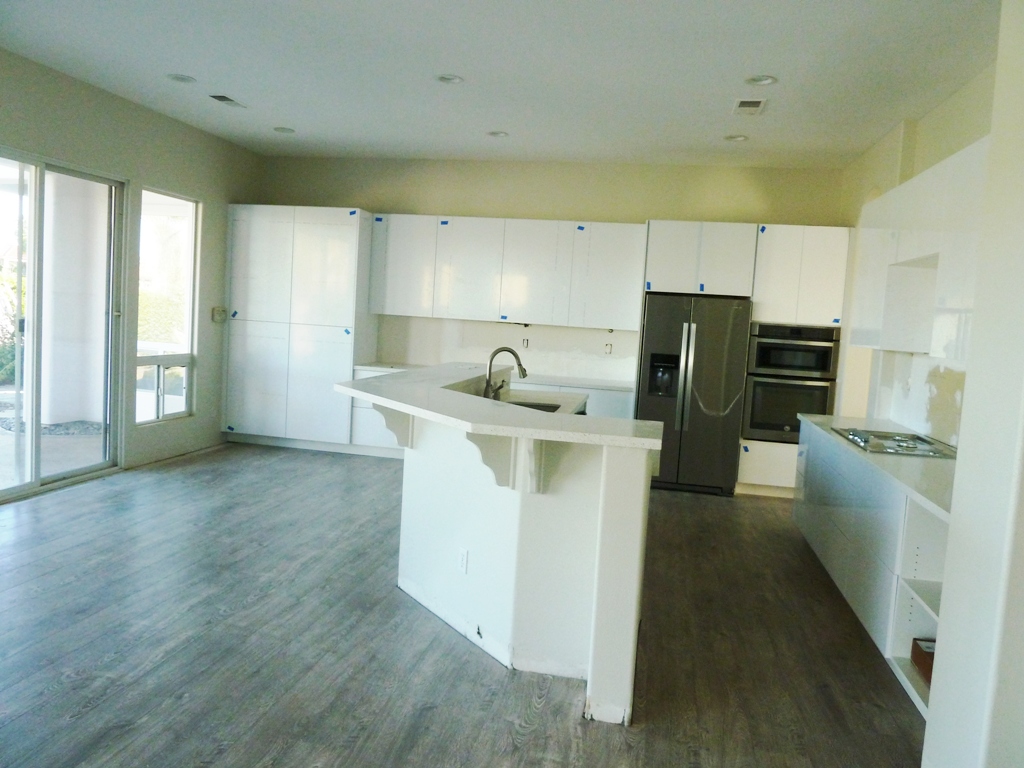
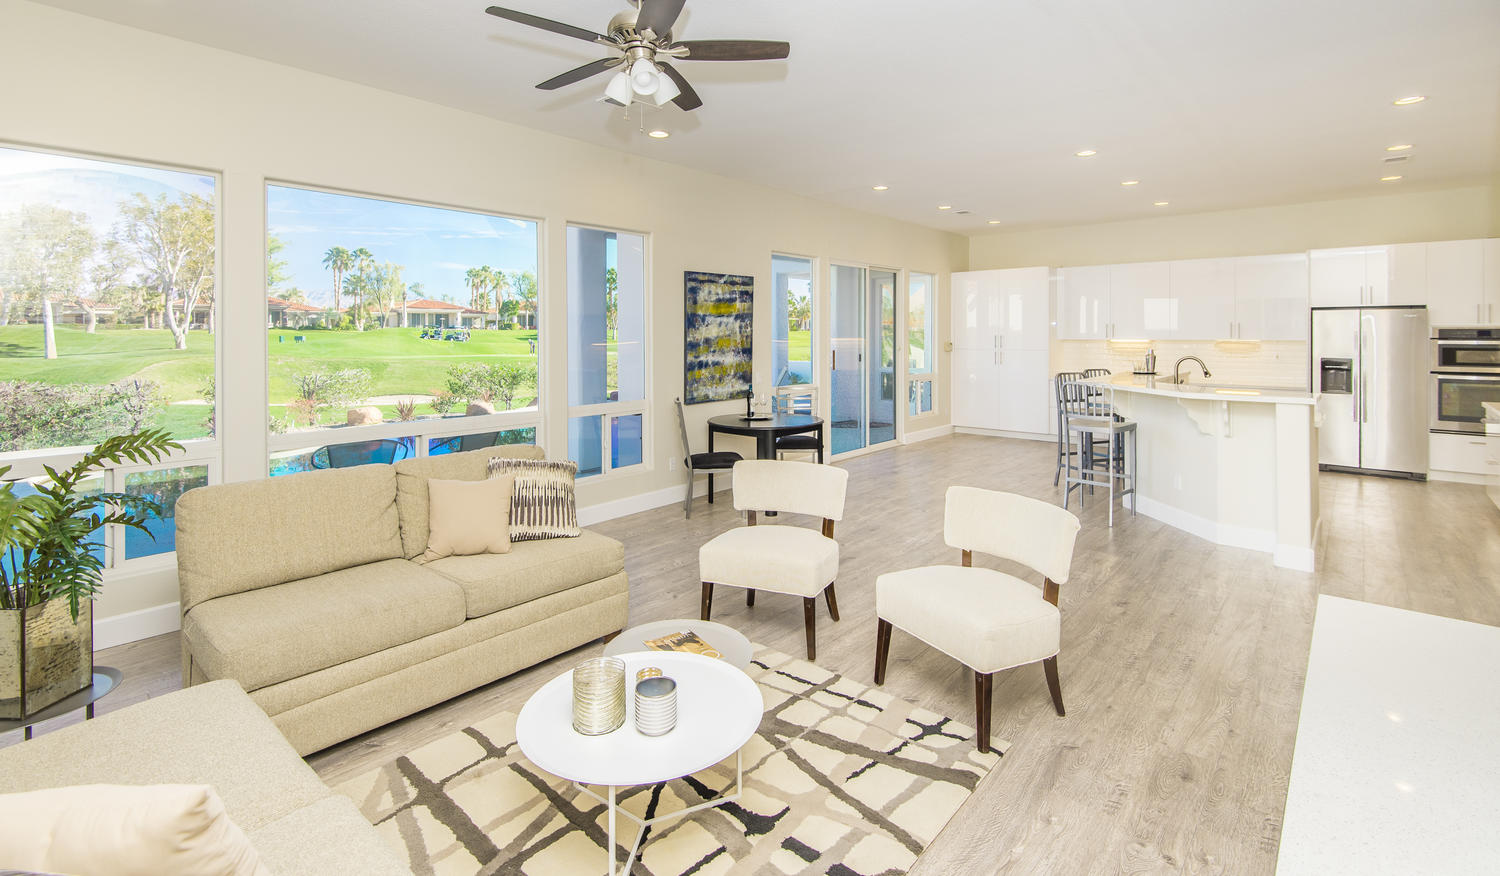
4. Identify the project scope and budget: During the walk-through, I discuss what rooms will be staged and the general layout. I photograph the areas to be staged and refer to them as I am selecting furniture. I discuss proposed costs with the owner based on the scope. In Mission Hills we agreed to stage the living room, family room/kitchen, master bedroom and office.
5. Identify Timing: If the renovations are completed, I need to move quickly to stage the home within a week. If renovations are still in progress, I discuss a projected date with the owner, while still preparing for the staging and targeting an install date. Since Mission Hills was such a complex renovation, the final staging date had to be adjusted several times
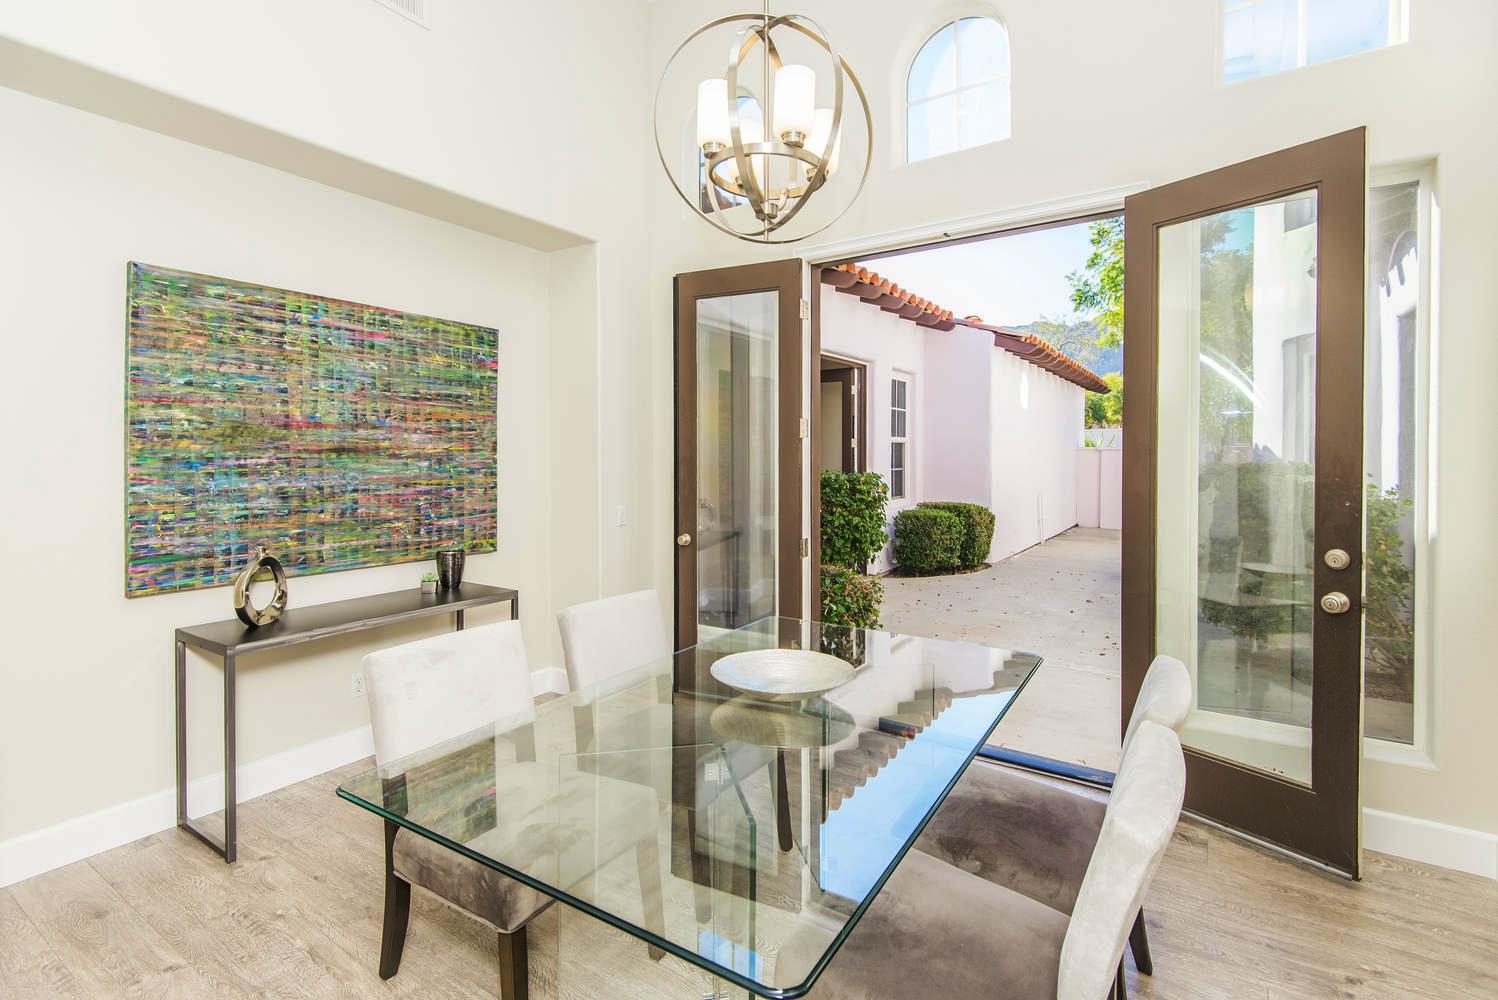
6. Develop a color palette: Most homes in the Coachella Valley market use neutral gray, beiges, or white. I decided to follow suit as buyers are often seeking what is correct. This set the decision for selecting the staging furniture items. I incorporate bolder colors into the art and the accessories to compliment the neutral palette. The Mission Hills property has a lovely gray, contemporary palette and we knew we wanted strong, colorful art work to enhance it.
7. Prepare the Quote: Based on budget, style and palette, I select the furniture from my rental company’s website. I use rental furniture because it provides me a range of current styles and prices. Then I select the accessories by type and quantity. Next is the art work selection. All of this is combined into a Staging Agreement. I reviewed the proposed furniture for the Mission Hills project with the owner and designer, offering them several optional selections before finalizing the order.
8. Pre-Installation: Prior to the install date, I select and pack the actual accessories, including glassware, bedding, area rugs, pillows, glassware, kitchen items, plants and outdoor furniture. Then I visit local art studios or galleries to arrange for delivery of selected artwork on the install date. For the Mission Hills project, I arranged for the owner and designer to visit the Izen Miller gallery with me to select the art work.
9. Installation: I meet the truck at the project site in the morning and direct them where to place all the furniture in each room. Then the art work is placed and lastly, the accessories.
Finalizing the Big Reveal:
I meet with the owner and/or the Realtor to review the final staging and make any last minute adjustments. The owner/ realtor arrange for photos, post the listing on the MLS and put out the “for sale” sign to market the fresh and appealing property. Due to effective staging, many prospective buyers view this enticing property on-line and are eager to see it in-person.
Enclosed are the videos of the Partners in Design episodes showcasing all the vendors who have been part of this series. Next installment, you’ll see the Big Reveal.

Room - before!

Room - before!

Room - after!

Room - after!
-

Room - before!
-

Room - before!
-

Room - after!
-

Room - after!
